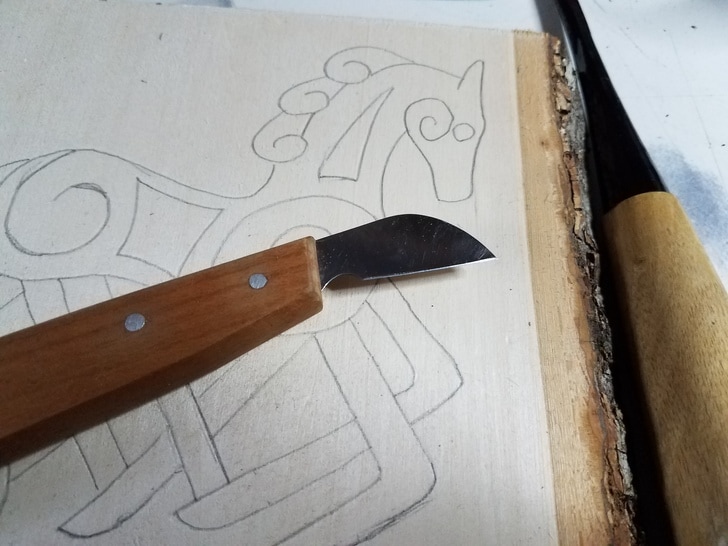
I tend to do most of my relief carving on basswood, because it's great. It's a softwood, but it has very, very tight grain, so it cuts buttery smooth. The downside is that trying to power carve with a rotary tool doesn't work at all. It fuzzes up and is generally impossible to get smooth again. So hand tools it is. The next step was to transfer the design over to the wood. Because basswood is so soft, I don't bother with carbon paper (also because I don't have any). I just use a ballpoint pen and press the design down into the wood. 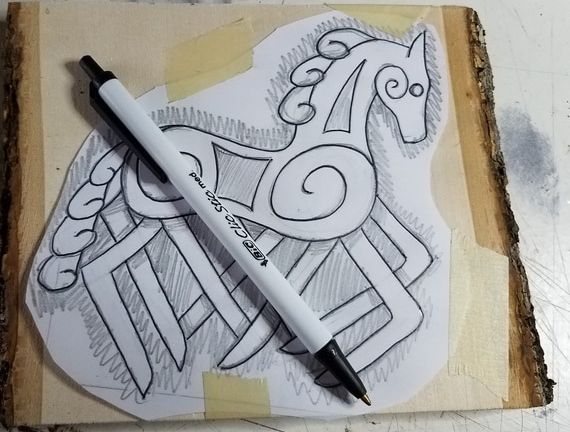 Like so! This leaves an outline dent in the surface of the wood, which I darken up with a pencil.
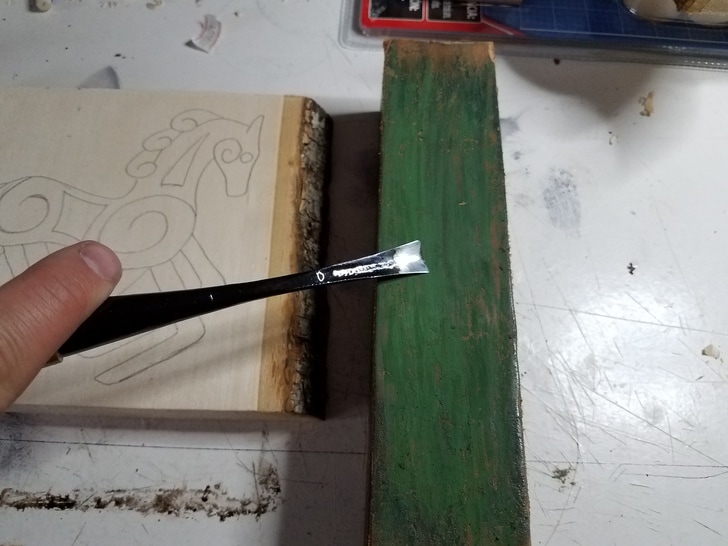
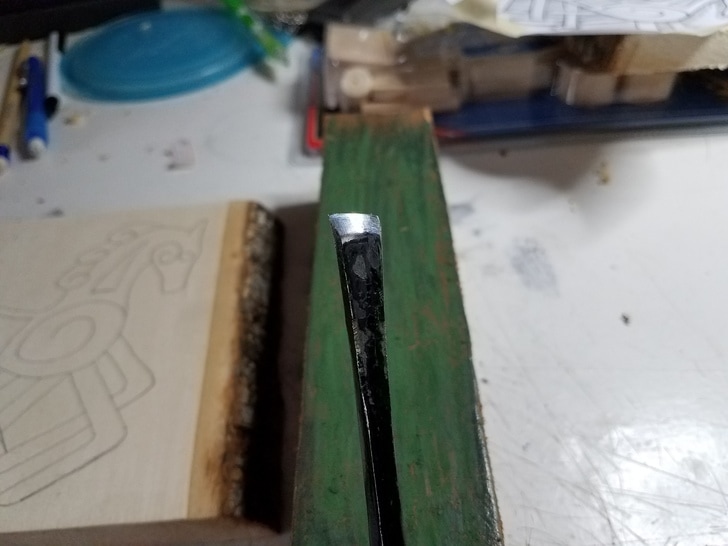
Once I had a knife wall around the whole outside of the design, I sharpened up my big flat fishtail gouge. It's about 1cm wide, and has a very shallow dish to it. To hone it up, I use a stropping block I made from a hunk of walnut, to which I glued a slice of vegetable-tanned leather. I rub the leather with green honing compound, and draw the tool across the treated leather. Always strop your tools from the back of the blade to the edge. This removes the burr that comes from stone sharpening and using the tool. It also ensures you don't dig hunks out of the leather surface.
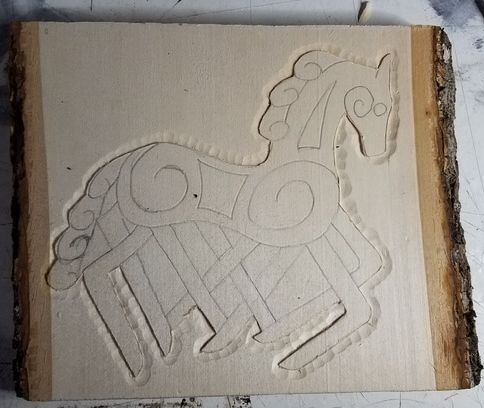
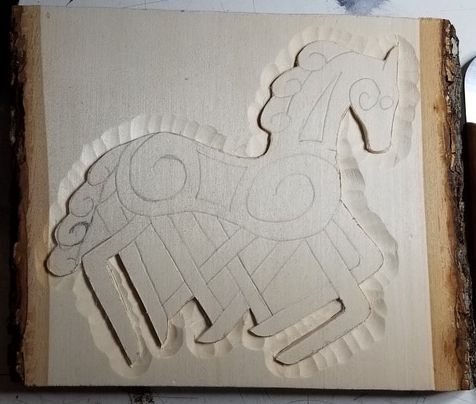
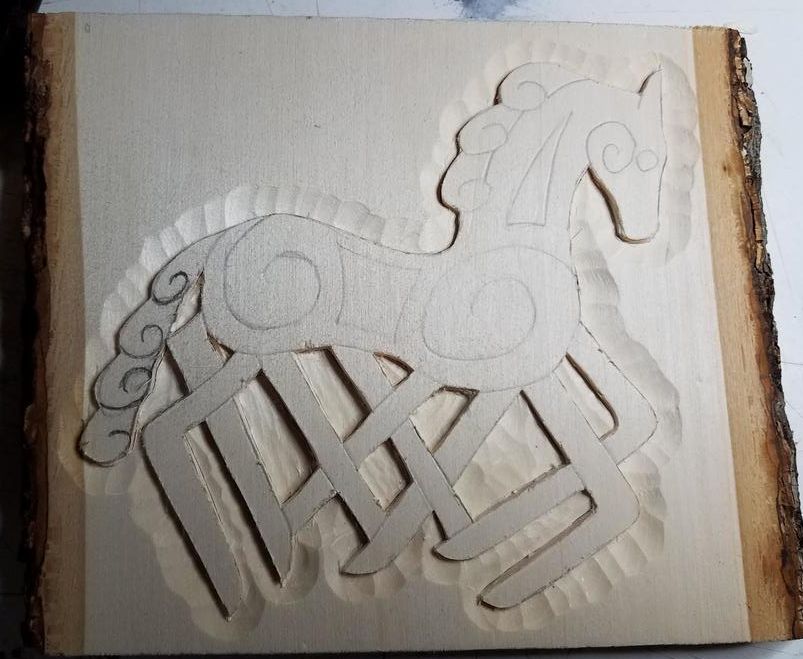
I worked my way around the piece, pushing the gouge gently toward the knife wall, taking shallow cuts all the way around the design. Then I went around a second time, cutting deeper to make the design stand out more from the background. Sometimes, if I cut deeper than the knife wall, I'd have to trim the chips away with the chip knife. I had to be really careful and slow around the ends of the legs and between them. There was a real risk of chipping a bunch of material out accidentally.
Once I was satisfied with the depth of the border, I started cutting down the spaces in between the legs, and the little designs on the body and neck of the horse. I used the same technique here. Knife wall to protect the figure, then gouges to deepen the background. For the smaller spots, I had to switch to a narrower gouge that would fit the space. I even used my spoon-bit gouge, which has a funky kink in its neck, to get to some of the really little spots.
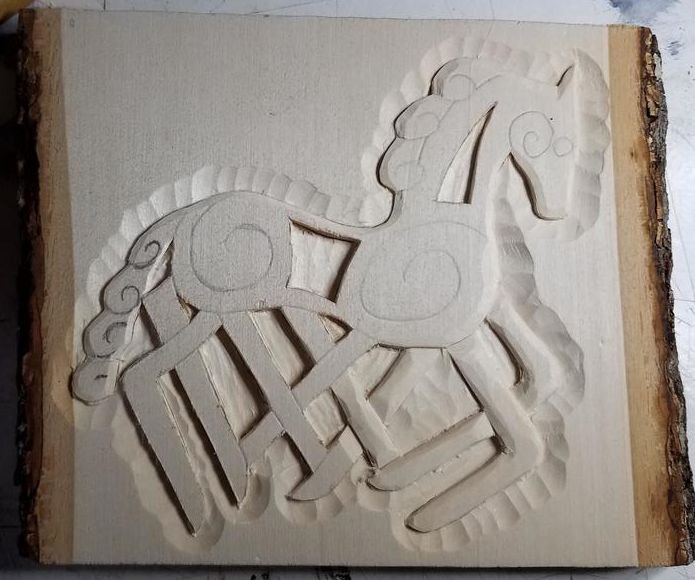
The final step before finishing the wood was to smooth out all the rough cuts. This isn't entirely necessary, depending on your aesthetic sense, but I like things smoother generally. I used a couple of little rifflers, which are basically really funny-shaped files, to smooth out the entire cut portion of the figure, rounding everything off, and getting rid of all the jaggy little edges I left in the previous steps. 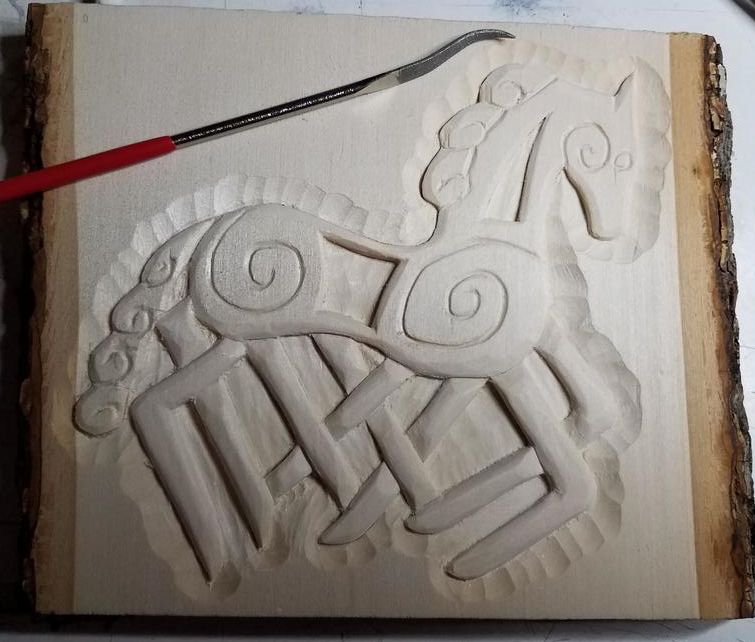 Riffling in progress. Look at the difference between the front and rear legs. Also: I love the word 'riffler'. It's so much fun to say. Try it! Riffling in progress. Look at the difference between the front and rear legs. Also: I love the word 'riffler'. It's so much fun to say. Try it! Once everything was nice and smooth, I used a cheap hardware store chip brush to apply a generous coat of boiled linseed oil. This stuff makes basswood look *beautiful*. Grain that you didn't know existed pops right out, and the whole piece takes on this satiny sheen, and a lovely honey-colored glow. See for yourself. 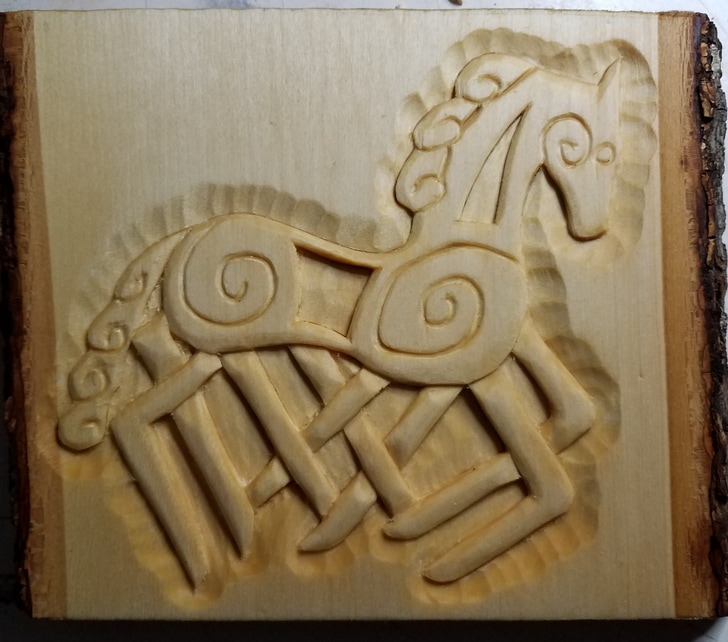 And that's it! Thanks for reading, and stay tuned for more makings.
0 Comments
|
AuthorI'm Dan, and I make things. Jewelry, food, carvings, Viking knotwork, and at least one child (so far). This is where I document all that stuff. Archives
May 2017
Categories |


 RSS Feed
